Turning your CrewAI project into a SaaS app
For the past couple of weeks, I have been playing around with CrewAI and it has been really fun. Crew is a Python library where you can define AI Agents, give them tools such as googling or web scraping, and assign Tasks for them to collaboratively solve. Watching them communicate and apply their tools is fascinating, sometimes hilarious, but also powerful and futuristic. As much as I love seeing agents collaborate in a dev environment, my real thrill in life comes from building tools and services for others, so I decided to turn one of Crew's own examples – the trip planner – into a fully fledged SaaS app and make that available on trip-planner.io.
My stack
Though I am Python proficient, I am not skilled in any front-end language and completely illiterate when it comes to all things infrastructure and cloud. Thus, for me the absolute easiest way to develop a full-stack SaaS application is to use Databutton. With Databutton, I can generate a Python backend that runs CrewAI and I can connect that to a sleek React frontend with needing to learn any how to code React in practise.
The trip planner case
In this post we will be discussing how to turn the trip planner example case from the CrewAI documentation into a SaaS app with user login, trip management, etc.
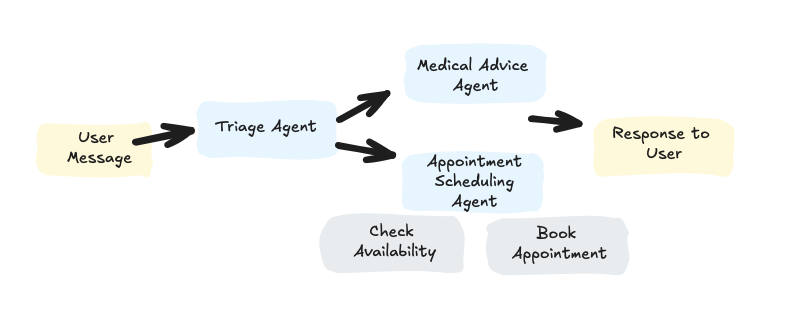
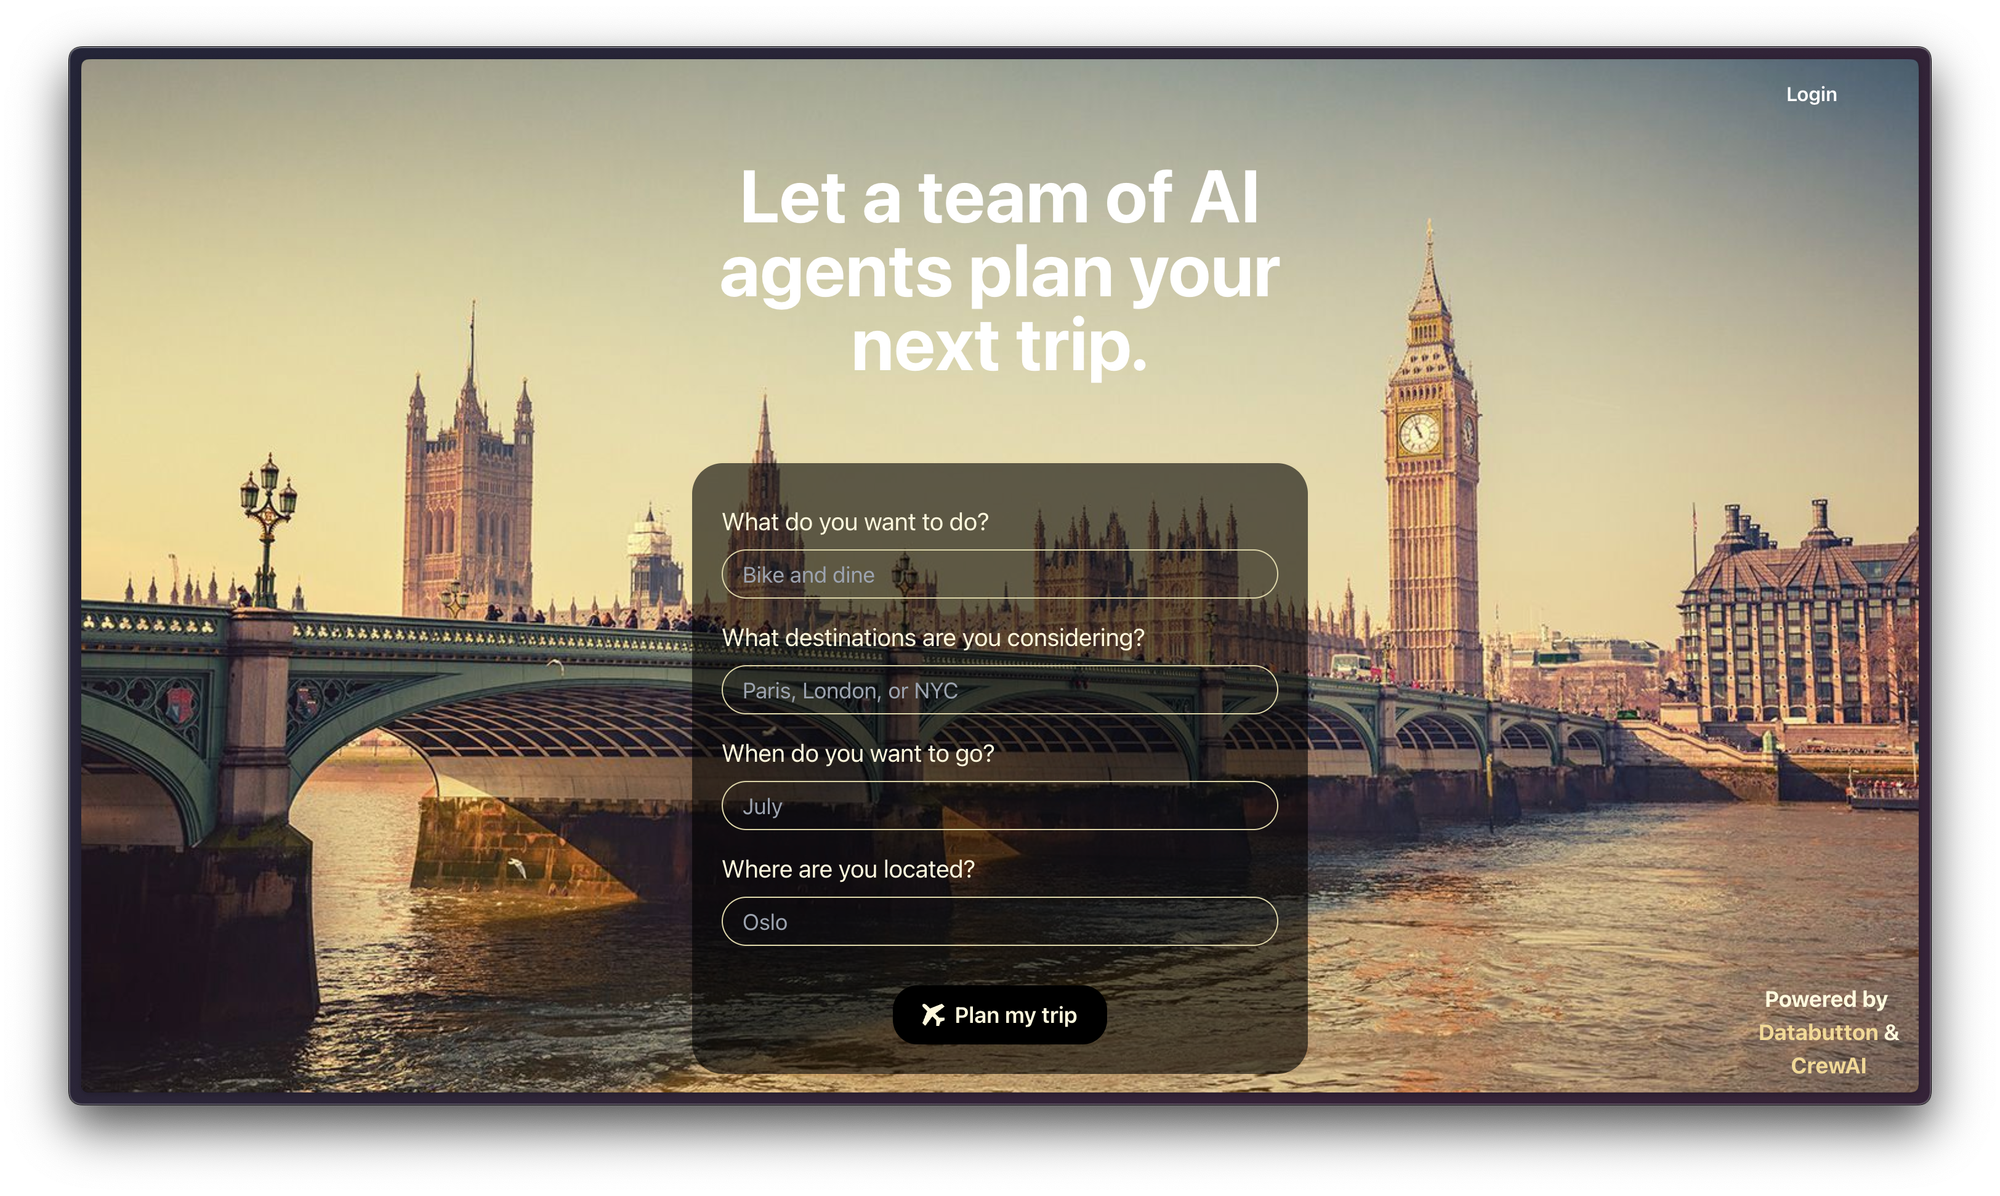
The trip planner example works as follow: the user provides what they want to do while traveling, which cities they would like to visit, at which time they want to travel, and where they are located. Then a crew of three agents is assembled – a city selection expert, a local expert on this city, and an amazing travel concierge. They have access to different tools such as Googling for information and scraping sites, and most importantly they can choose to delegate tasks to each other. In the example user flow, the users input is translated into a set of tasks and delegated to the different agents.
- The City Selection Expert is to determine which city to travel to and give a short resume.
- The Local Expert on this city is to figure out everything about that city including relevant events and local costumes.
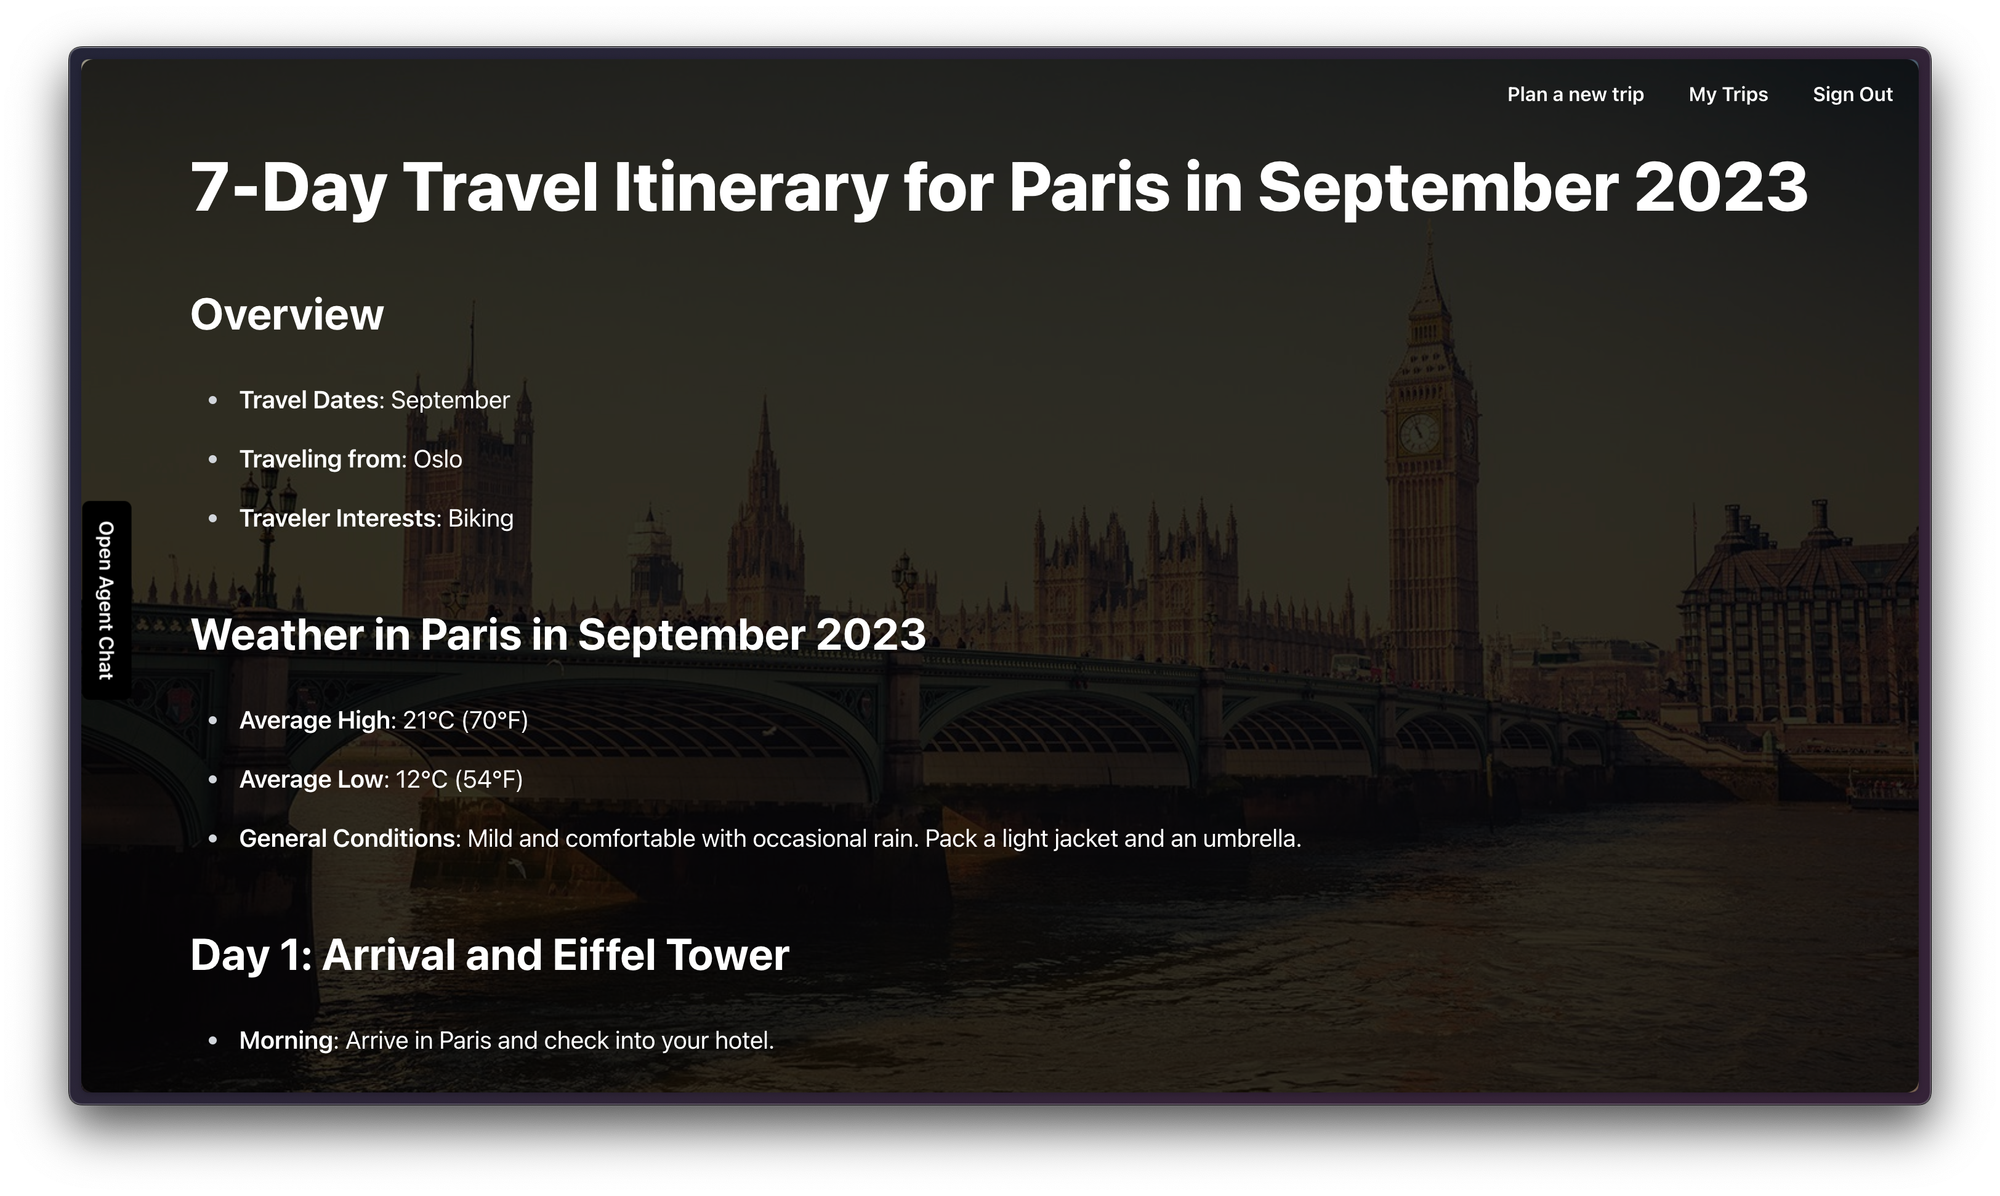
- The Amazing Travel concierge is to compile all information and suggest a 7-day travel itinerary which is also the crew's final artifact.
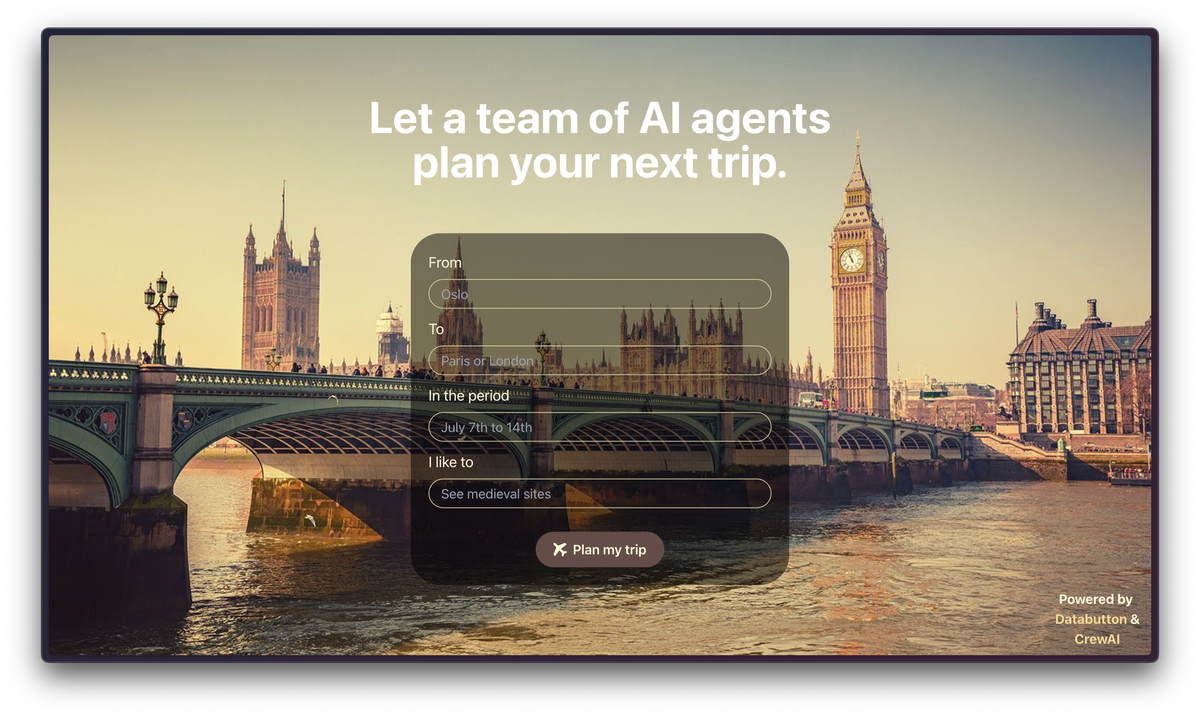
Designing a UX
The perhaps biggest challenge you'll need to solve when turning a CrewAI project into a real app, is to figure out a decent design for your app. Only a handful of app that leverages AI Agents exists in the world, and CrewAI offers little help. Thus there is very little to takes as inspiration out there.
The easiest way to design a UX is to create a form for the input and just display the output as markdown. However, since each run easily takes 2-5 minutes that will lead to a pretty unsatisfactory experience for the user. Thus, things like "send me a notification on email when they are done" seems natural.
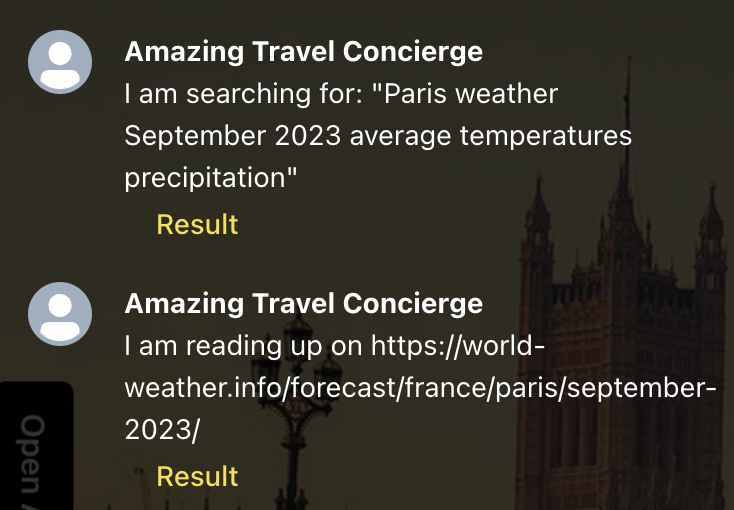
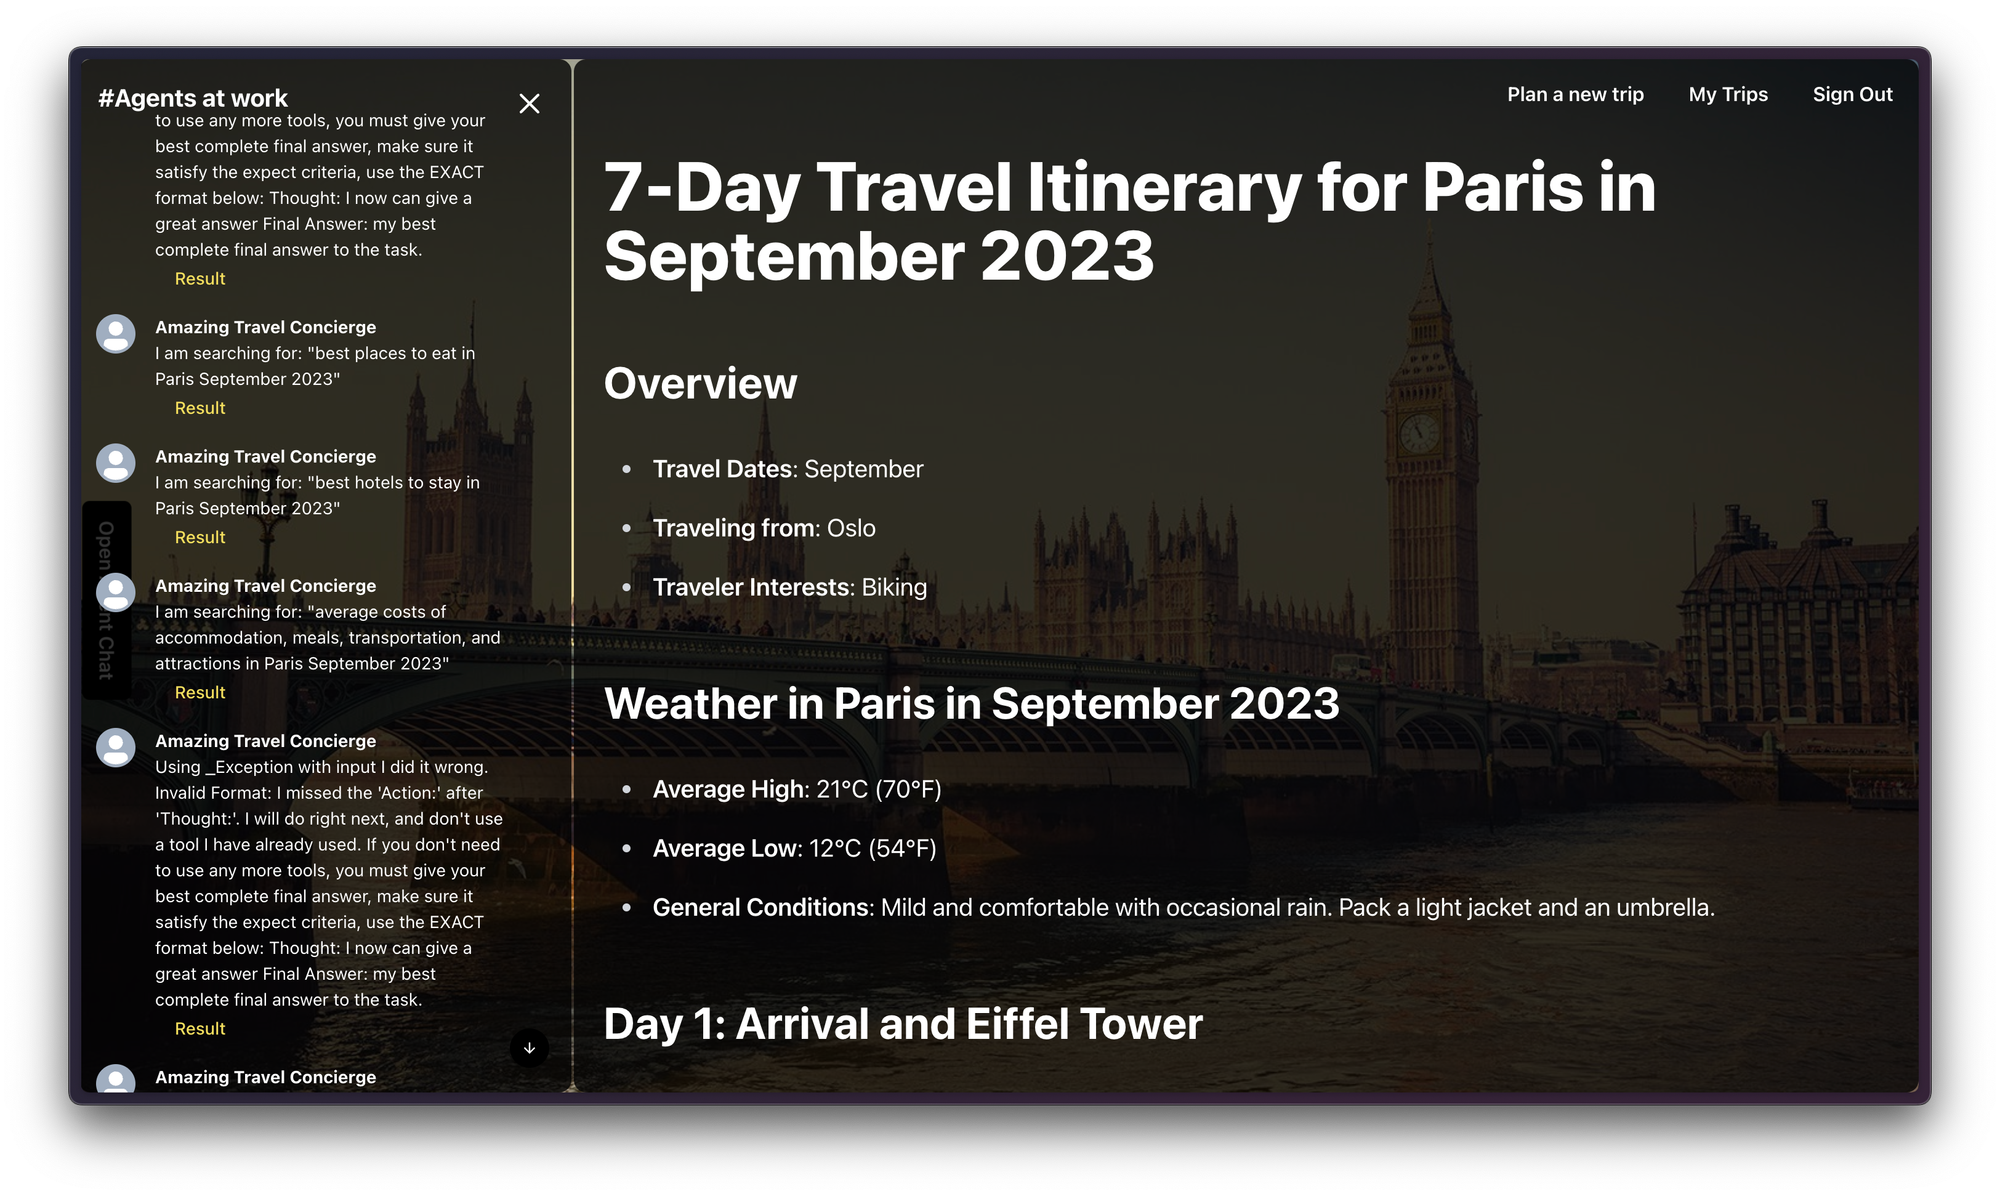
However, the agents are also coming up with a lot of useful information for the user along that way that doesn't make it into a 7-day itinerary. Thus, showing the work of each agent and their results is super-valuable (and super fun for the user).
In my case, I went for a simple solution that displays both the final result (and a loading screen when working) and an evolving Slack inspired experience for the Agent's work as a sidepanel.
Defining and running the Crew
While making the UI is straight-forward in Databutton once you know what you want, creating an API endpoint for the Crew execution is less so. Upon diving into CrewAI for a bit, you quickly realize that the whole library has been designed to run in a local notebook and to be used by users in that notebook. I am sure that the new CrewAI+ service is changing that, but I don't have access to that to test it.
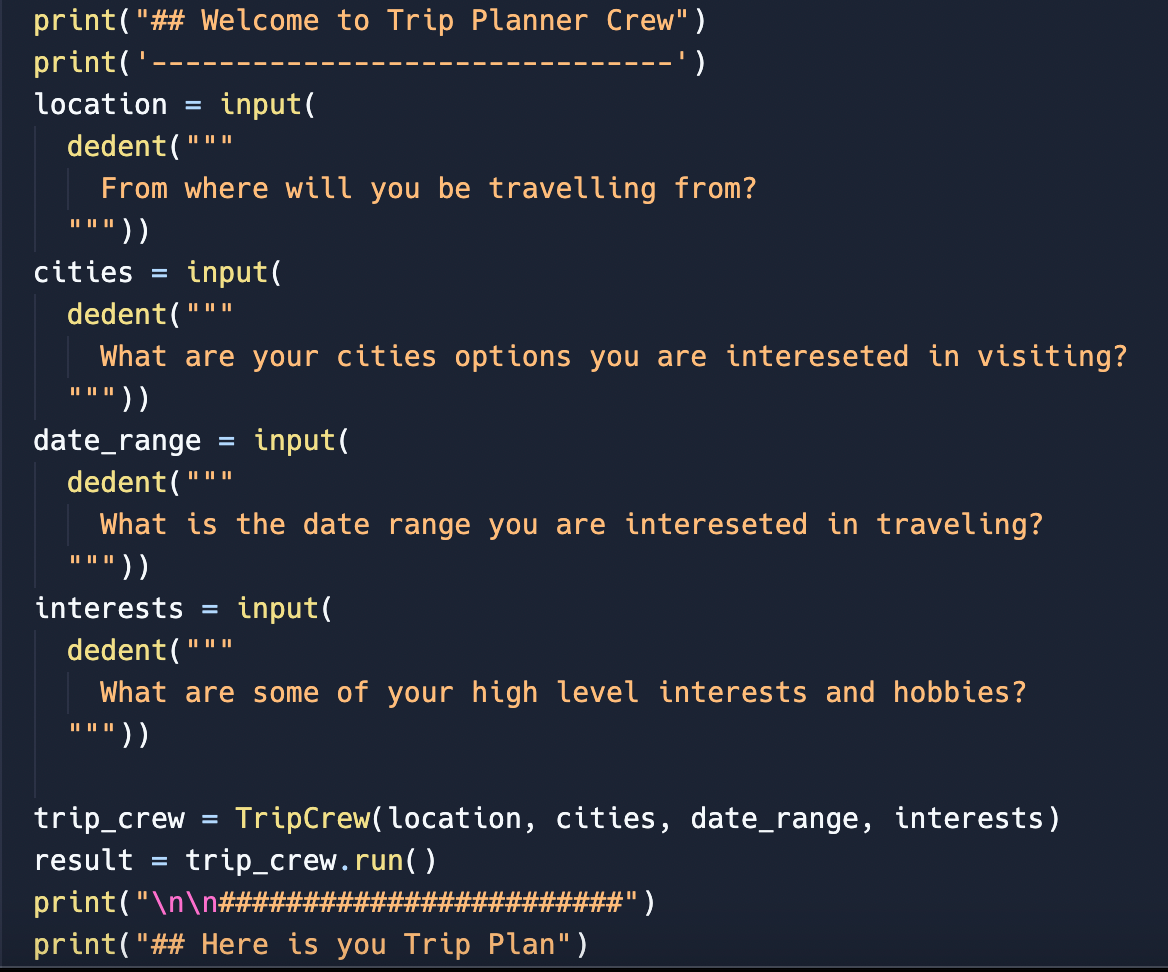
So, firstly since Databutton doesn't support a library structure for the python code, we need to smash it all into 1 long Capability. In practise, that means copy+pasting the code from main.py, trip_agents.py, trip_tasks.py, and tools/*.py and paste it into one longer capability. This will lead to about 350 lines of code. Then, we ask the agent to build an API taking inn the parameters, run the crew, and return the result.
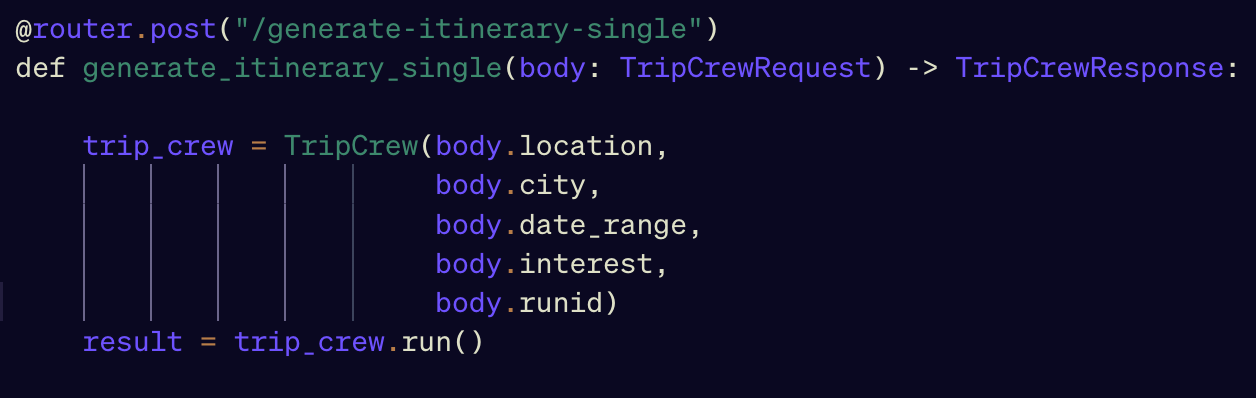
Note that I have also added a runid here which will enable me to refer to this run throughout.
We can now have the agent hook this endpoint up in the UI and thus have a working Form -> Result flow.
However, we still don't get any intermediary results showing. To achieve that, we will use the callback functionality offered by CrewAI. To be precise, we will use the step_callback property for each of the agents.

I did several attempts at making streaming this information back from the API to the UI work. However, it seems that this leads CrewAI to become very unstable, so I had to resort to a different way. Instead, I chose to store every intermediate agent step in the Databutton storage as follows (or rather the Databutton agent did):
  def callback(self, msg, agent_name):
        try:
            chat = db.storage.json.get(self.runid+"_chat")
        except:
            chat = []

        nchat = len(chat)

        if isinstance(msg, list): #Agent action
            action = msg[0][0].dict()
            tool = action['tool']
            input = action['tool_input']
            if 'Search' in tool:
                message = 'I am searching for: "' + json.loads(input)['search_query'] + '"'
            elif 'Scrape' in tool:
                message = "I am reading up on " + json.loads(input)['website']
            else:
                message = "Using " + tool + " with input " + input

            result = msg[0][1]

            chat_add = {'id': str(nchat),
                        'profileImageUrl': "https://example.com/profile1.jpg",
                        'user': agent_name,
                        'message': message,
                        'thread' : [
                            {'id': f"{nchat}-1",
                            'profileImageUrl': "https://example.com/profile1.jpg",
                            'user': agent_name,
                            'message' : result,
                             'thread' : []
                            }
                        ]
                      }

            chat.append(chat_add)
        else:
            chat_add = {'id': str(nchat),
                        'profileImageUrl': "https://example.com/profile1.jpg",
                        'user': agent_name,
                        'message': result['return_values']['output'],
                        'thread' : []
                       }
            chat.append(chat_add)

        db.storage.json.put(self.runid+"_chat", chat)
To use that, every Agent is defined with a callback as follows:
def city_selection_agent(self):
        return Agent(
            role="City Selection Expert",
            goal="Select the best city based on weather, season, and prices",
            backstory="An expert in analyzing travel data to pick ideal destinations",
            tools=[
                self.search_tool,
                self.scrape_tool,
            ],
            llm = get_llm(),
            step_callback=partial(self.callback, agent_name='City Selection Expert'),
            verbose=False,
        )
Now, to display the intermediate steps as Chat history, we simply need to pull the corresponding chat from the Databutton storage on a schedule in the UI.
Adding auth
Finally, I want to add auth to the app so that I can both easily add payments later on as well as collect emails to the people who try out the app. Since everyone has a gmail account these days, I choose login with Google as the only option. Fortunately, Databutton comes with a component called Authwrapper that has this functionality ready to go, so the agent knows how to add this.